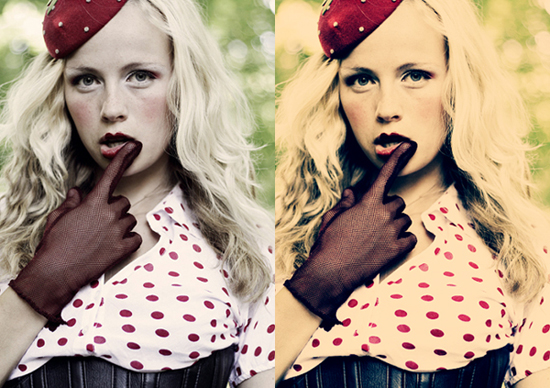
We will see the power of Levels after turning an image into Lab Color. You can make colors really pop with very little effort.
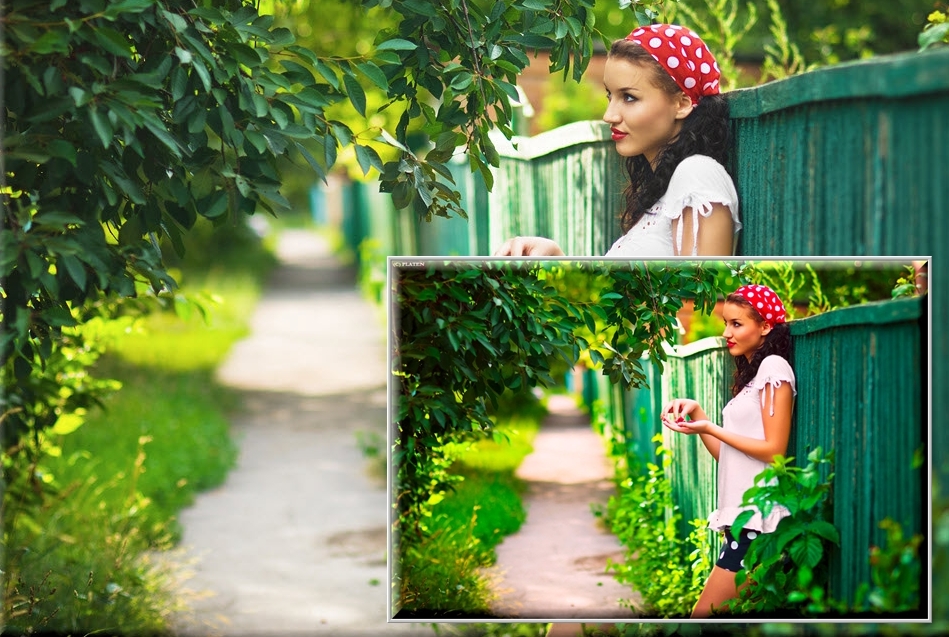
I have opened this free stock image which you will find here
It belongs to platen

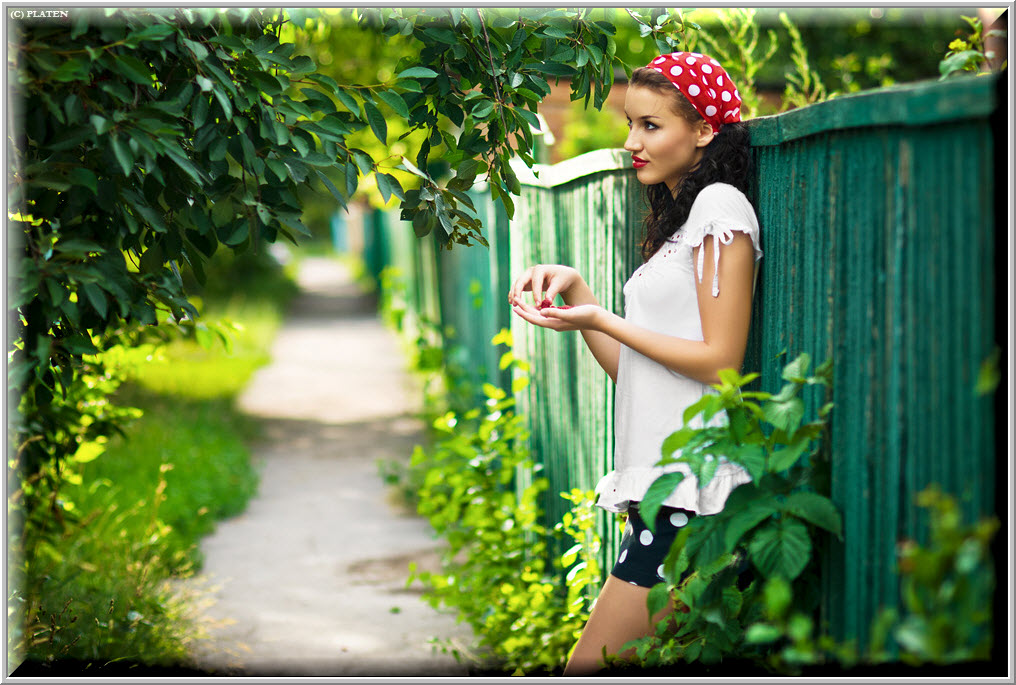
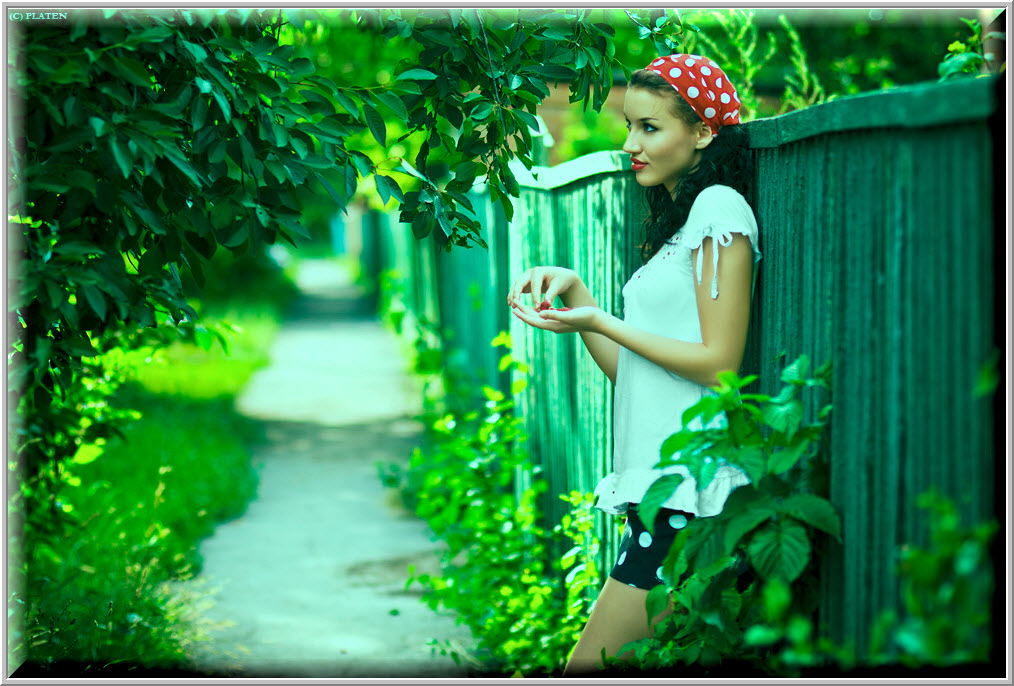
This is the effect I will achieve in just a few steps.
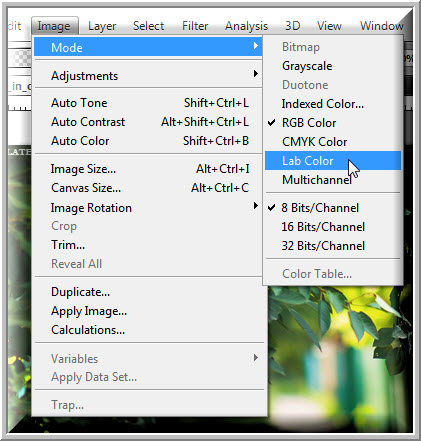
Step 1 : Go to Image>Mode>Lab Color to change the image into Lab Color.
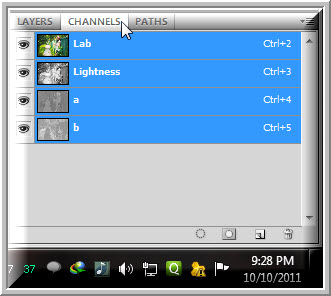
Step 2 : Click in the Channels and you will notice the Lightness, a and b channels.
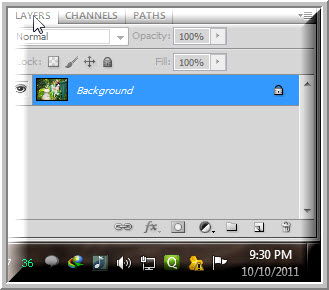
Step 3 : Click back on the Layers palette.
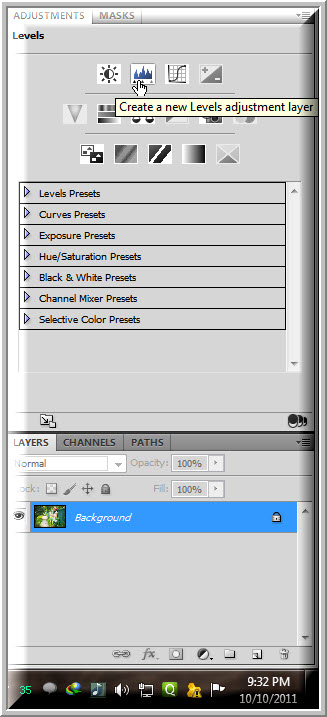
Step 4 : Press ALT and click on the Levels icon.
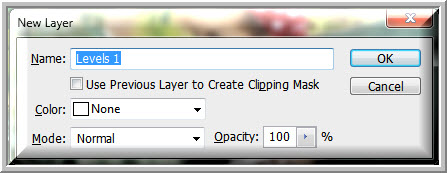
Step 5 : This dialogue box pops up. Photoshop gives it a name – Levels 1. Click OK.
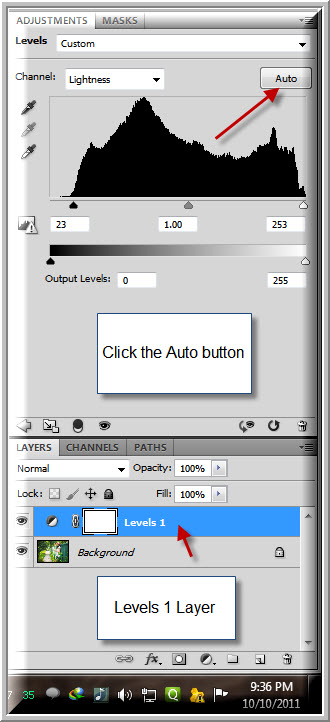
Step 6 : The Levels 1 Layer forms. Click on Auto in Levels.
You will notice a slight change in the colors in the image when you click the Auto button.
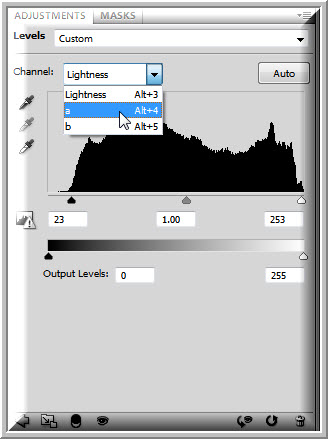
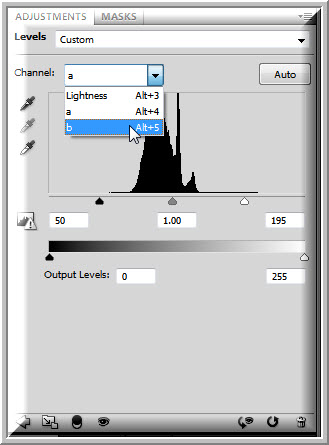
Step 7 : Click on the ‘a’ channel to select it.
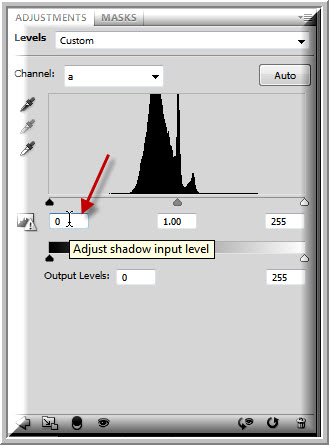
Step 8 : Place the cursor in the first box shown.
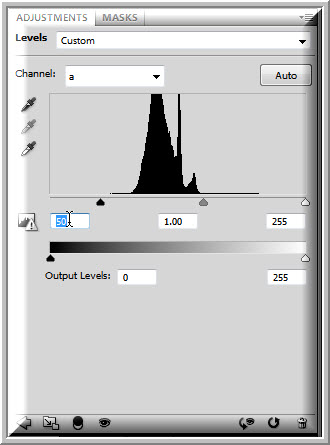
Step 9 : Press SHIFT and press the UP ARROW six times. The 0 in the box changes to 50 and the Black slider moves forward.
The image looks like this. Don’t worry about it.
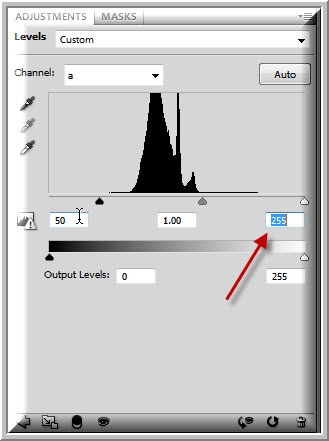
Step 10 : Press the TAB key twice. The box at the right is highlighted.
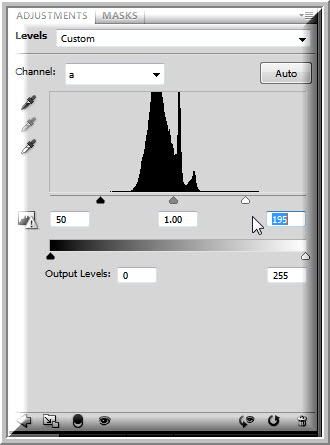
Step 11 : Press SHIFT and DOWN ARROW six times. The White slider moves forward.

The image looks like this. It looks much nicer already.
Step 12 : Now click and select the b channel.
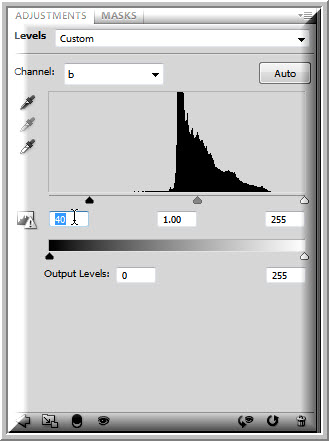
Step 13 : Press the cursor in the left box and press SHIFT and UP ARROW four times.
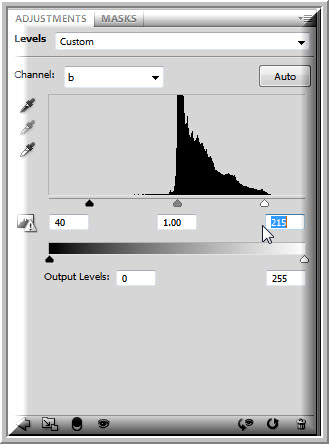
Step 14 : Press TAB twice. The right box is highlighted. Press SHIFT and press the DOWN ARROW four times.
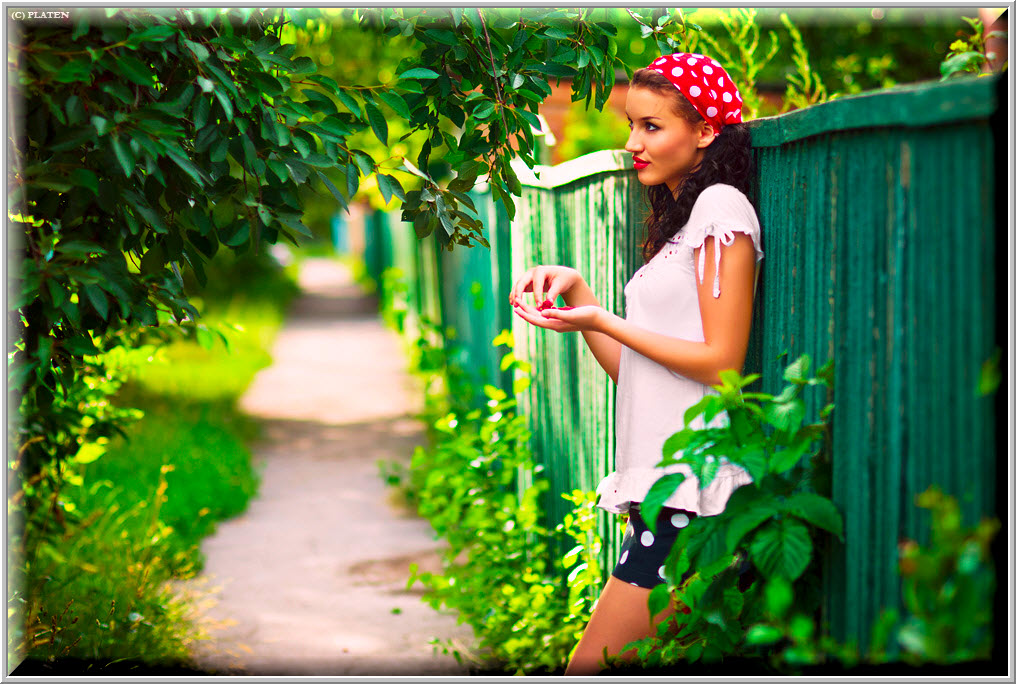
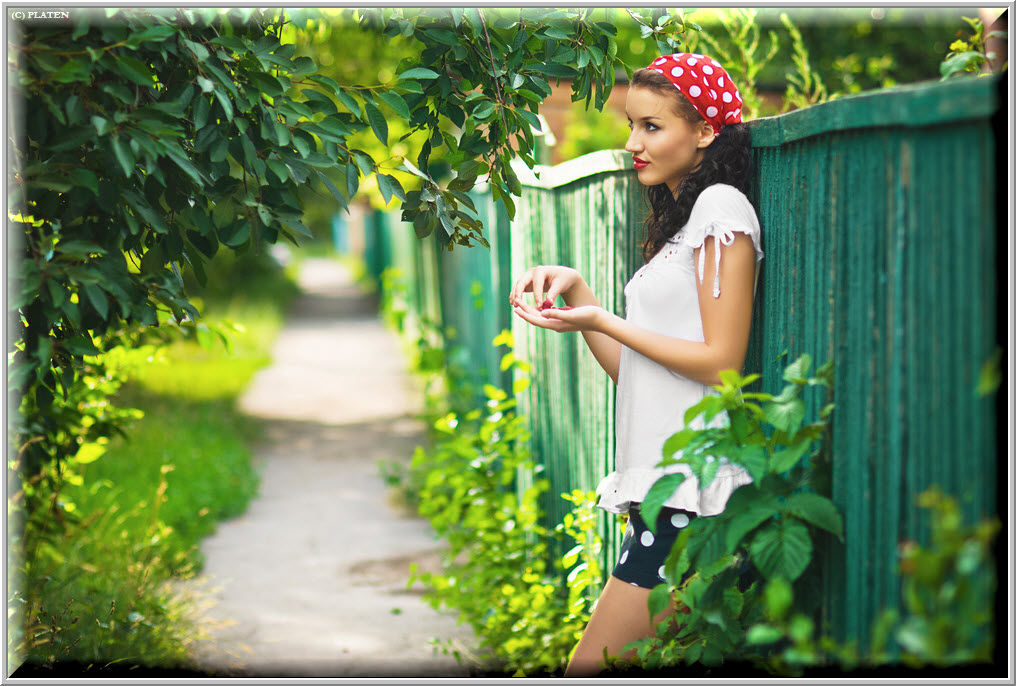
There is nothing hard about pressing the SHIFT and UP and DOWN arrows. Just remember to press the equal number. It is not necessary that you press the UP and DOWN ARROWS in a channel ‘a’ 6 times and 4 times in channel ‘b’. It will depend on your image. But the equal number of times is important. Finally you will get a photo like this.